 |
Final Reading
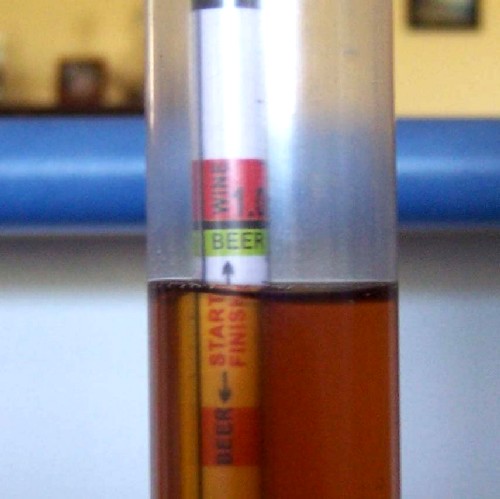
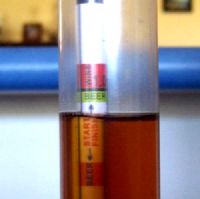
Ok, you’ve taken your final hydrometer reading and the SG is now stable indicating that the primary fermentation is complete. Now it’s time to move on to the bottling process. |
 |
Clear the tap
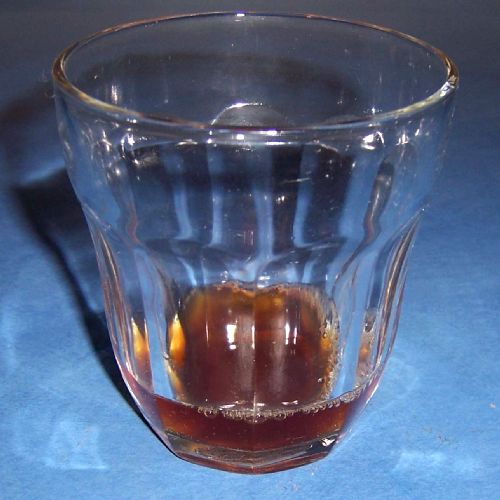
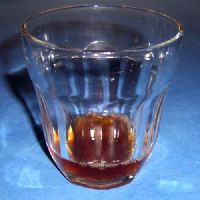
The first stage is to make sure the tap is clear of any sediment that may clog your bottling device. You do this by simply fully opening the tap and allowing a small amount of your beer, usually less than half a glass to run through. |
|
|
 |
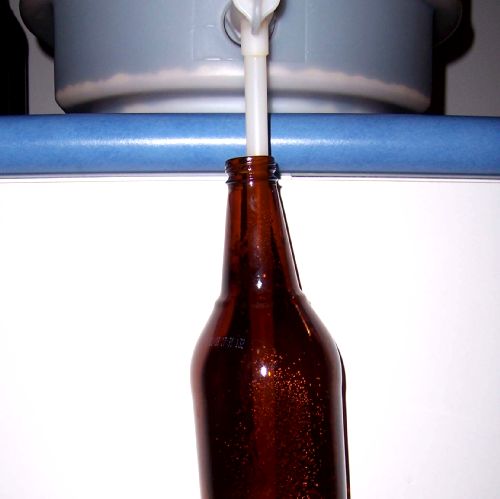
Fit the bottling device
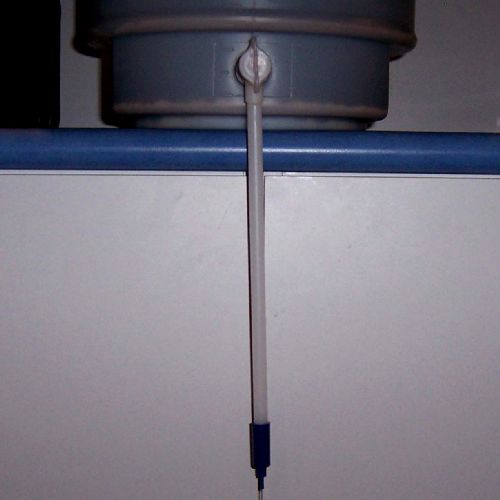
In simple terms the bottling device is a piece of plastic tube that fits into the tap on the fermenter and has a pressure switch on the end to stop the beer pouring out unless there is a bottle under it.
This allows you to fill the bottles from the bottom up rather than just pouring the beer in from the top.
At this point I just want to reiterate the point that you should make sure to clean and sterilize all equipment that is going to come into contact with your brew. This point still applies at this stage in the process.
A note of caution. The seal in the pressure switch may not be 100% so I would recommend that you do not open the tap until you are ready to start bottling as the bottling device may leak. |
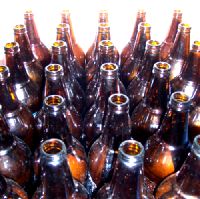 |
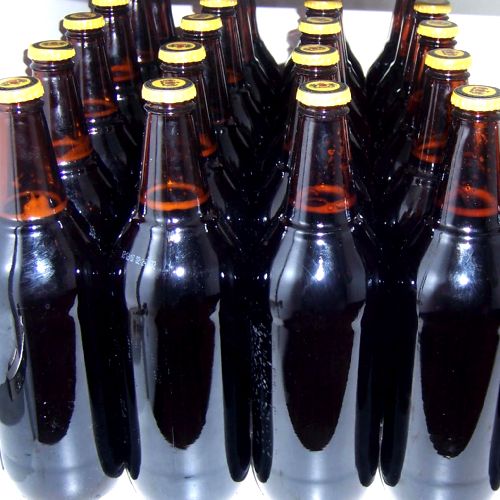
The Bottles
Prepare your bottles. All bottles should be thoroughly cleaned and sterilized. A batch of brew from my system will normally yield between 27 and 29 full 750ml bottles. I would generally prepare 30 bottles per batch to account for accidental breakages etc. |
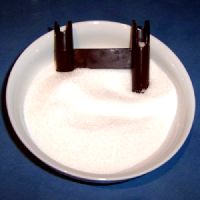 |
Prime the bottles
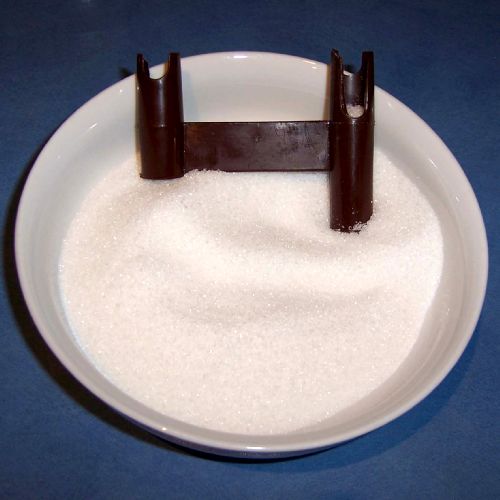
Each bottle should now have a measure of sugar added to it. The amount you add is important. Too little and the end result will be flat beer. Too much and the bottles could literally explode.
Ordinary white sugar if fine for this purpose, the sugar measure shown has too ends, one for 375ml bottles, the other for 750ml. |
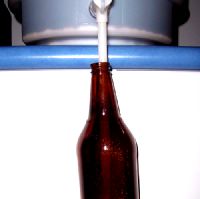 |
Fill the bottles
After priming you are now ready to fill the bottles. You do this by raising them up under the bottling device until you feel the pressure switch release and see the bottle start to fill. You continue filling the bottle right to the brim as when you remove the bottling device the level will fall back to just above the neck of the bottle. |
 |
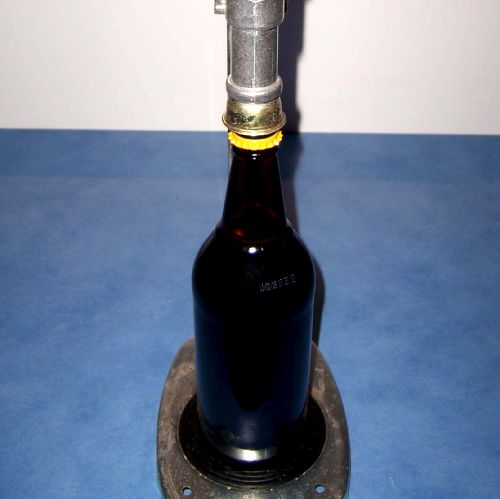
Fit the lids
Once you have filled the bottles you are now ready to fit the lids. The lids should fit snugly on the tops of the bottles. |
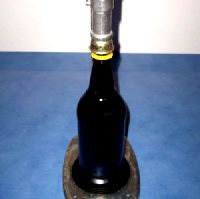 |
Adjust capping press
If you are using a capping press, adjust the height so that the bottle fits just under the press when it is in its fully upright position. When placing the bottle under the press you must make sure it is centred correctly to avoid problems with the seal. |
 |
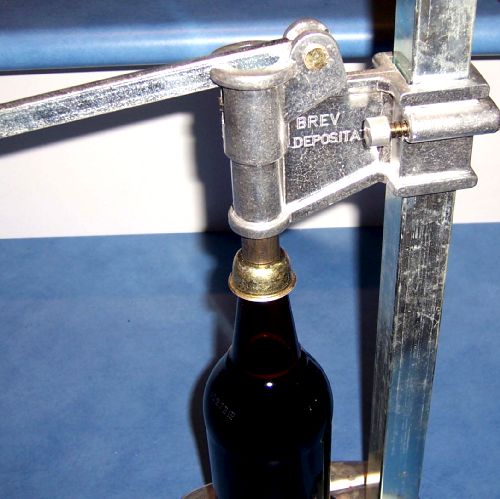
Sealing the bottles
Once your press is set up and the bottle centred, pull down on the handle. This will lower the press and seal the bottle. It can require considerable force so be sure to either bolt the press to a solid bench or table or make sure you use your other hand to steady the press when you are pulling the handle down. |
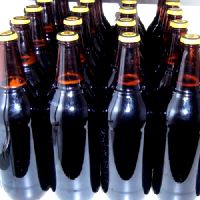 |
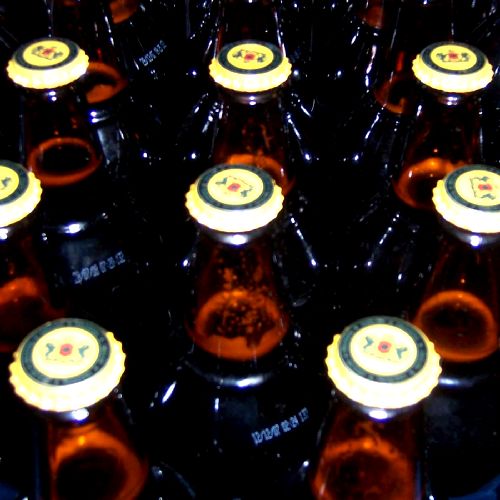
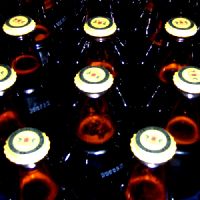
The Finished Product
That’s it. All that remains to do now is to store the finished bottles in a cool dark place for a minimum two, preferably four weeks before chilling and enjoying. |