|
Warm the Syrup.
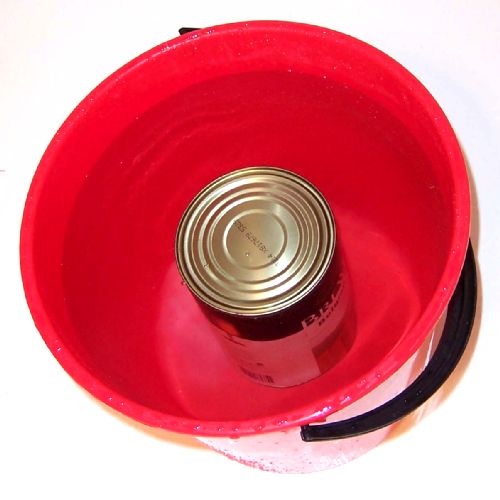
The brewing concentrate can become very thick and hard to get out of the can at low temperatures. To get around this, put the tin in a bucket of hot water for ten minutes. This will gently warm the contents making it easier to pour out. |
 |
Clean your equipment.
Make sure you thoroughly clean and sterilize all equipment that will come into contact with your brew.
Different sterilizing products have different directions for use. Follow them; this is probably the most important step as a bacterial contamination can completely ruin a batch of beer. |
 |
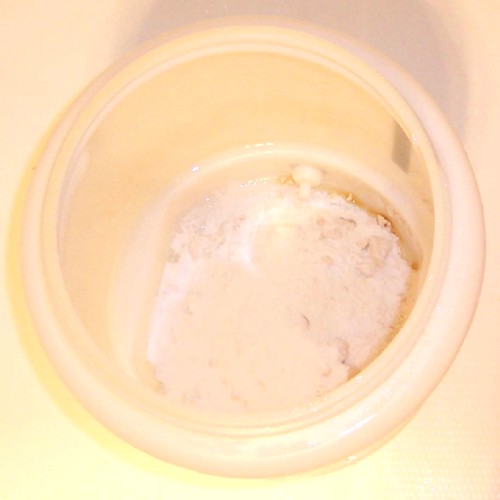
Add Sugar.
Fairly straight forward, once you have made sure your equipment is cleaned properly, pour your sugar into the fermenter. |
 |
Add boiling water.
Add around two litres of boiling water to the fermenter. You use boiling water to aid in the process of dissolving the sugar. It also raises the temperature of the brew at the end of the process which helps to activate the yeast.
Once you have added the water, stir the mix thoroughly until the sugar dissolves.
It may seem obvious but before you add the water, make sure the fermenter tap is turned off before you add the water. |
|
|
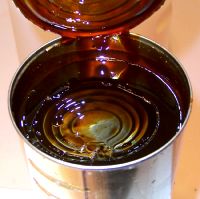 |
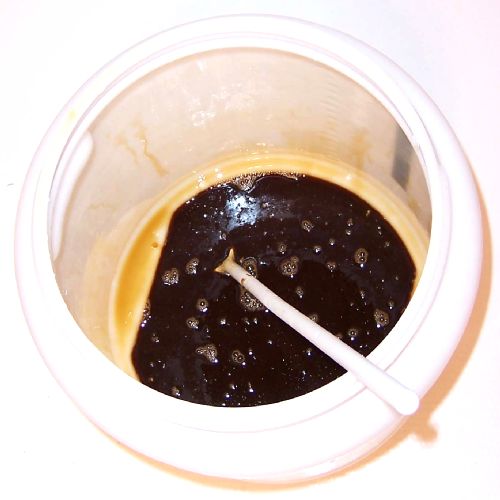
Open the tin.
Now is the time to take the tin of brewing concentrate out of the bucket of hot water. Once you open it you will see that it is a very thick, dark syrup. Depending upon which style of beer you are brewing, there may be hops present which you will make the syrup look a little lumpy. |
 |
Add the syrup to the mix.
Pour the syrup into the fermenter. It should be quite runny if you have left it in the hot water for the full ten minutes.
As the contents of the tin are already sterile, there is no problem adding it straight to the boiling water in the fermenter. Once added, again, give it a good stir. |
 |
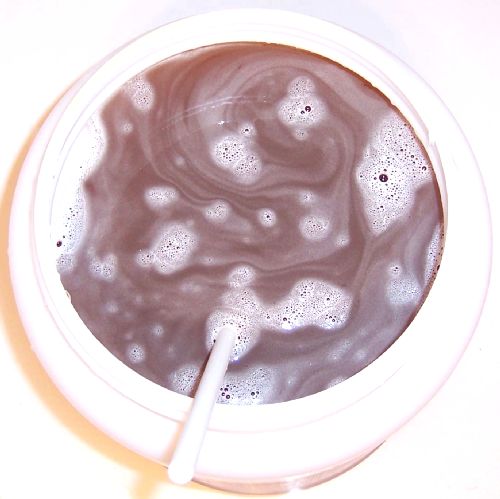
Top up with cold water.
By cold, I don’t mean chilled. Normal tap water at room temperature will do.
Once filled, give it a good stir to ensure the ingredients are evenly mixed. |
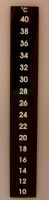 |
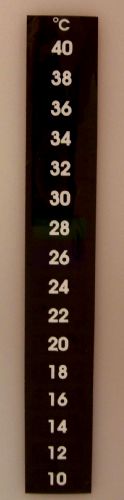
Check the temperature.
After filling, the end temperature of your brew is important. Too hot and you’ll kill the yeast before it can work. To cold and it will take longer to activate.
I normally aim for an end temperature between 25 and 28 degrees Celsius. |
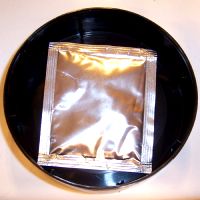 |
Find your yeast.
You will normally find a sachet of brewing yeast under the cap on your tin of brewing concentrate. |
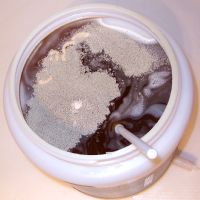 |
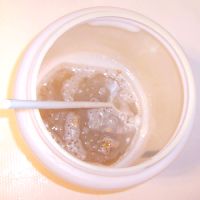
Add yeast to mix.
Providing the temperature is not too high, you can now add your yeast to the mix. You should again stir thoroughly after adding the yeast.
After adding the yeast you may see it clumping together into lumps. I have seen this a few times and as far as I can tell the only affect is to slightly delay the activation time. |
 |
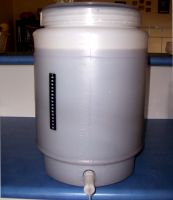
Fit Lid and Pressure valve.
That’s it, your brew is complete. Now is the time to fit the lid and pressure release valve.
The pressure release valve is composed of an S shaped plastic tube fitted to a hole in the fermenter lid. The valve has water in it that allows the gas produced by the fermentation process to escape while preventing outside air that could be contaminated with bacteria from entering. |
 |
Move fermenter.
While it’s not strictly necessary, I always choose to mix my brew in a wet area such as a bath tub. This way any spills are easy to clean up. Obviously, you cannot leave the fermenter in the bath tub while it’s doing its work so it will need to be moved.
The place you choose to keep your fermenter should be relatively temperature stable and warm enough to allow the bacteria to stay active.
You can ignore this step if you choose to make your brew in the location where it will be stored. |
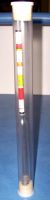 |
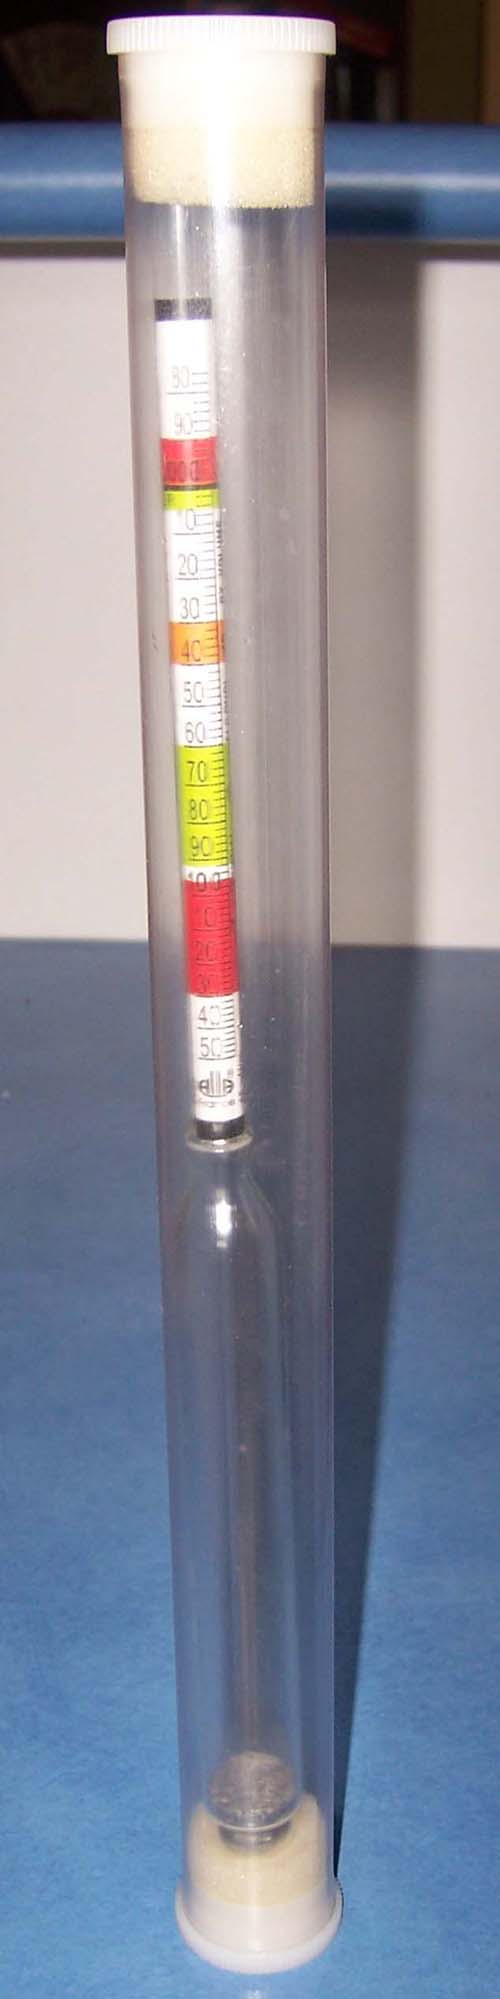
The Hydrometer.
Now that you have finished making your brew it is time to take the first of the readings on the Hydrometer. The reading the Hydrometer provides is a measurement of the relative density of the brew compared to pure water.
Your Hydrometer will normally have come in a plastic tube. This tube doubles as a test jar for taking a reading. |
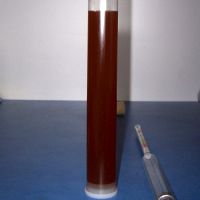 |
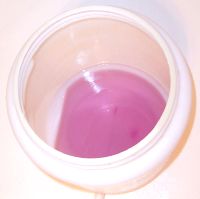
Take your reading.
To take the reading you must fill the test jar. Fill it to just under two thirds full. When putting the Hydrometer into the test jar, give it a spin using your finger tips as you release it. This will have the effect of removing any air bubbles from the surface of the Hydrometer and allow you to take a more accurate reading. |
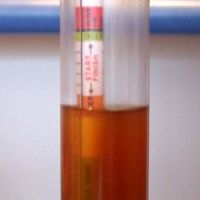 |
The results.
You take the reading by looking at where the surface of the brew reaches up to on the neck of the Hydrometer. This first reading is known as the starting gravity. You need to note down this first reading as it can be used to calculate the approximate alcohol content of the finished product. |
 |
Yeast activation.
After about 3 hours, you should start to see some movement on the pressure release valve. This movement indicates that the yeast is active and is busy breaking down the sugar into alcohol and carbon dioxide.
What if nothing happens? See the yeast activation page for details |