|
|
How to use a Hydrometer. |
What is a Hydrometer? |
In simple terms a hydrometer is a tool that allows us to measure the density or weight of a liquid as compared to pure water. By measuring the relative change in density of your wort during the brewing process we can tell two important things.
First, and most importantly is allows you to see with absolute certainty that the breakdown of the primary sugar into alcohol and CO2 is complete and thus your brew can be safely bottled. Secondly, it allows you to calculate the approximate strength or alcohol by volume of the finished product.
|
|
|
How does it work? |
 |
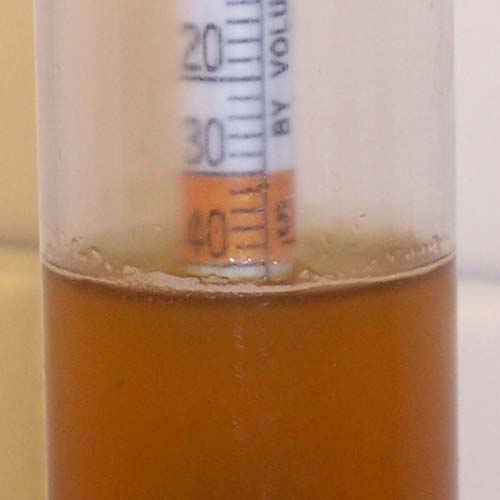
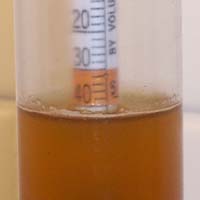
The Hydrometer is essentially a glass tube specifically designed to float at a known level of 1.000 in pure water at a known temperature, usually 20 degrees Celsius. You can test this quite simply by filling your test jar with water and see if your hydrometer reads true at 1.000.
Now I realize that the reading shown in the picture is not exactly 1.000, why? Well there are two main reasons. First, tap water is not actually pure, there are all sorts of minerals dissolved in it that can change its density however, if you live in an area with good quality tap water the effect usually won’t be too pronounced.
Second and most importantly is temperature. Your hydrometer is designed to be accurate at a known temperature, usually 20 degrees Celsius. It the temperature of your liquid is not at this temperature then the reading will not be accurate. Fortunately the effect is predictable and can be adjusted for. In fact, our homebrew calculator has this adjustment built into it just to make it easy. |
Taking a reading |
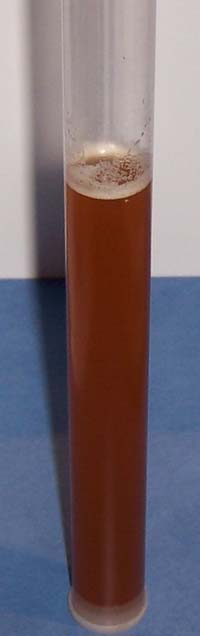
The first step is to fill your test jar. You need to fill it up enough so that the Hydrometer will float freely. Usually filling the jar about two thirds full is about right. This allows the hydrometer enough space to float and also gives it a bit of leeway so that it doesn’t hit the bottom while the reading is stabilising.
If there are any bubbles or foam on top of the wort as shown in the picture, allow it to fully clear before taking your reading. |
 |
|
|
Next, take your hydrometer and lower it into the liquid until its body (the wide bit) is completely submerged. Once at this point you need to give the hydrometer a twist with your fingertips as you release it so that it is spinning as the reading stabilises.
You do this in order to remove any small bubbles that may have stuck to or formed on the hydrometers surface as it was placed into the liquid. Obviously, having air bubbles stuck to its surface will affect the hydrometers buoyancy so if after the reading has stabilised you notice some of these bubbles stuck to it, simply take hold of the hydrometer again and give it another spin to free them.
Problems seeing the video? Download it here spin.mov (3.1Mb)
|
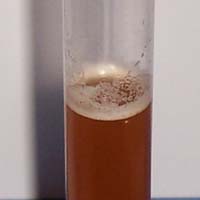
Finally, once the hydrometer has stabilised, is free of bubbles and is not resting against the side of the test jar you can take your reading. Once you have noted down the reading remove the hydrometer from the jar and wash it. Next, before you discard the test liquid, you should take and note down the temperature of the liquid.
That’s it really, nothing fancy. If you are careful you will get an accurate reading every time.
|
 |
|